
Affiliate disclosure: HostingCouponCode.pro participates in the Hostinger referral program. Using our code JQZIMUSVE7VM at signup on a new Hostinger account may give you an extra 20% off and supports our work at no extra cost to you. Read our full affiliate disclosure.
install wordpress on hostinger is the main question this guide answers for readers comparing Hostinger deals in 2026. The short version: Hostinger can be a strong value choice when you understand the plan limits, renewal pricing, and the fresh-account requirement for the extra referral discount.
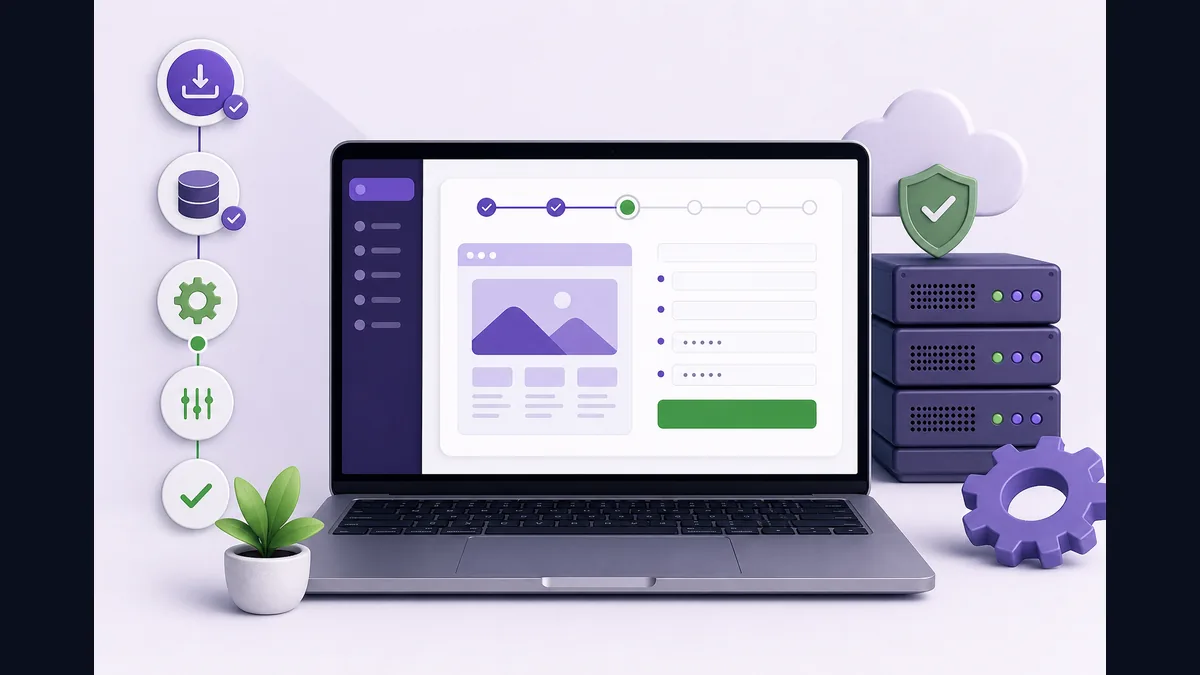
install wordpress on hostinger: why this guide matters
Hosting discounts can look simple on the surface, but the details matter. Intro prices, billing length, renewal rates, service type, and account eligibility can change the real value of a deal. This article focuses on practical installation tutorial with post-install checklist, with practical advice for beginners, bloggers, small businesses, and anyone trying to keep hosting costs predictable.
What you should know first
Hostinger usually gives its strongest prices to new customers choosing longer billing terms. The referral code JQZIMUSVE7VM may add an extra discount on eligible services, but readers should treat the checkout page as the final source of truth. If the price changes by region, tax, billing period, or product category, always compare the final cart total before paying.
For most beginners, the right decision is not only about the lowest monthly number. Look at what the plan includes: number of websites, storage, backups, email, CDN, migration, WordPress tools, and whether the plan gives enough room to grow over the next year.
Quick comparison table
| Factor | What to check | Why it matters |
|---|---|---|
| Discount | Code JQZIMUSVE7VM | Can add extra savings for eligible new accounts. |
| Billing term | 12, 24, or 48 months | Longer terms often lower the monthly intro price. |
| Renewal price | Shown before checkout | Prevents surprise costs after the first term. |
| Plan features | Websites, storage, backups, CDN | Determines whether the plan fits your project. |
| Support | Live chat and help resources | Important for beginners and migrations. |
How to use the discount safely
Use the referral link, confirm that the code is visible or auto-applied at checkout, and make sure you are signing up with a fresh new Hostinger account. If you already have an account, open a new eligible account only if that matches Hostinger’s current terms and your own needs. Do not rely on screenshots or old prices; verify the live cart total.
Get Extra 20% Off Hostinger
Referral ID: JQZIMUSVE7VM (auto-applied via the partner link below — Hostinger has no manual referral coupon field; new accounts only)
Activate 20% DiscountImportant: You must sign up with a new Hostinger account. Existing accounts will not receive the referral discount.
Who this is best for
Hostinger is often best for beginners, bloggers, portfolio sites, small business websites, lightweight WooCommerce stores, and users who want a simple control panel without paying premium managed-hosting prices. If you run a mission-critical store with complex traffic patterns, compare cloud or VPS plans carefully before choosing.
For related guidance, read our Hostinger pricing guide, Hostinger review, and Hostinger referral code guide. These links help you compare the discount with plan features before deciding.
What to verify before buying
- Confirm the code JQZIMUSVE7VM appears or the referral discount is reflected in the final cart.
- Check whether the plan includes a free domain, backups, email, CDN, or migration.
- Review the renewal price, not only the introductory monthly price.
- Choose a billing term you are comfortable paying upfront.
- Keep a copy of the invoice and plan details after purchase.
Buyer safety checklist before checkout
Before you complete the purchase, pause for a minute and review the final checkout screen. Confirm the service name, billing duration, renewal price, included features, tax, and whether the referral discount is actually reflected in the total. This is especially important because hosting prices can vary by country, campaign, and billing term. A plan that looks cheapest monthly may require a larger upfront payment, while a shorter term can cost more per month but give you more flexibility.
Also think about what your site will need six months from now. A small blog can usually start with shared hosting, but a growing WooCommerce store, agency site, or traffic-heavy project may need daily backups, CDN, more storage, or cloud resources sooner than expected. Choosing the right plan at the start helps you avoid unnecessary upgrades, migrations, and downtime later.
Bottom line
How to Install WordPress on Hostinger: Easy Guide 2026 is worth considering if you want simple hosting and a lower first-term cost. The best result comes from matching the plan to your project, checking renewal pricing, and using the referral discount only when the checkout confirms that it applies to your new account.
What is the best way to use install wordpress on hostinger?
The best approach is to start from the article guidance, compare the current Hostinger plan details, and activate via the link JQZIMUSVE7VM only with a fresh new Hostinger account when the offer is eligible.
Do existing Hostinger accounts get the extra 20% discount?
No. The extra referral discount is intended for fresh new Hostinger accounts. Existing accounts usually cannot receive the referral-code benefit.
Does the discount work on every Hostinger service?
The referral offer may apply across eligible Hostinger services such as Web Hosting, Cloud Hosting, VPS, Website Builder, Business Email, and Reach Email Marketing, but final eligibility is confirmed at checkout.